
Online lessons (Zoom)
TutorManager integrates directly with Zoom so your school can conduct online lessons without manually creating meetings or emailing invitation links. Once connected, enabling Zoom on any lesson or course automatically provisions a video meeting and places the join link on everyone's dashboard.
How it works
- Individual lessons: When you schedule a lesson with Zoom enabled, TutorManager creates a dedicated scheduled Zoom meeting with the correct start time, duration, and subject.
- Courses: When you enable Zoom for a group course, TutorManager creates a single, stable recurring meeting link that remains consistent across all sessions of the course.
- Access control: Meetings are configured with waiting rooms enabled and allow participants to join before the host so students can be ready when the teacher arrives.
- Direct joining: The join link is displayed on the lesson detail page and course page for the teacher, student, and parents.
Step 1: Connect Zoom to TutorManager (Admin)
To connect Zoom, an administrator creates a Server-to-Server OAuth app in the Zoom App Marketplace and inputs the credentials into TutorManager.
Create the Zoom App
- Sign in to the Zoom App Marketplace using your school's Zoom administrator account.
- Click Develop in the top navigation and select Build App.
- Choose Server-to-Server OAuth as the app type and click Create.
- Give your app a name (such as "TutorManager Integration") and complete the basic company information.
- Under Scopes, add the permissions required to manage meetings:
meeting:write:adminmeeting:read:admin
- Continue to the Activation step and activate your app.
- From the App Credentials tab, note down your Account ID, Client ID, and Client Secret.
Configure credentials in TutorManager
- In TutorManager, open Administration from the sidebar and select Company.
- Scroll down to the Zoom section.
- Switch on Enable Zoom integration.
- Paste your Zoom Account ID, Zoom Client ID, and Zoom Client Secret.
- Click Save Changes at the bottom of the page.
Once saved, the Zoom toggle becomes active across all lesson and course forms.
Step 2: Enable Zoom on lessons and courses
On an individual lesson
- Open Lessons and click New Lesson (or edit an existing scheduled lesson).
- Fill in the student, teacher, subject, and time.
- Switch on the Zoom toggle.
- Click Create (or Update).
TutorManager communicates with Zoom in the background and saves the meeting ID and join URL to the lesson.
On a group course
- Open Courses and click New Course (or edit an existing course).
- Complete the course details and schedule.
- Switch on the Zoom toggle. A message confirms that a stable meeting link will be created for the entire course.
- Click Create (or Update).
Joining an online lesson
When it is time for class, participants do not need to check emails or chat apps for meeting codes:
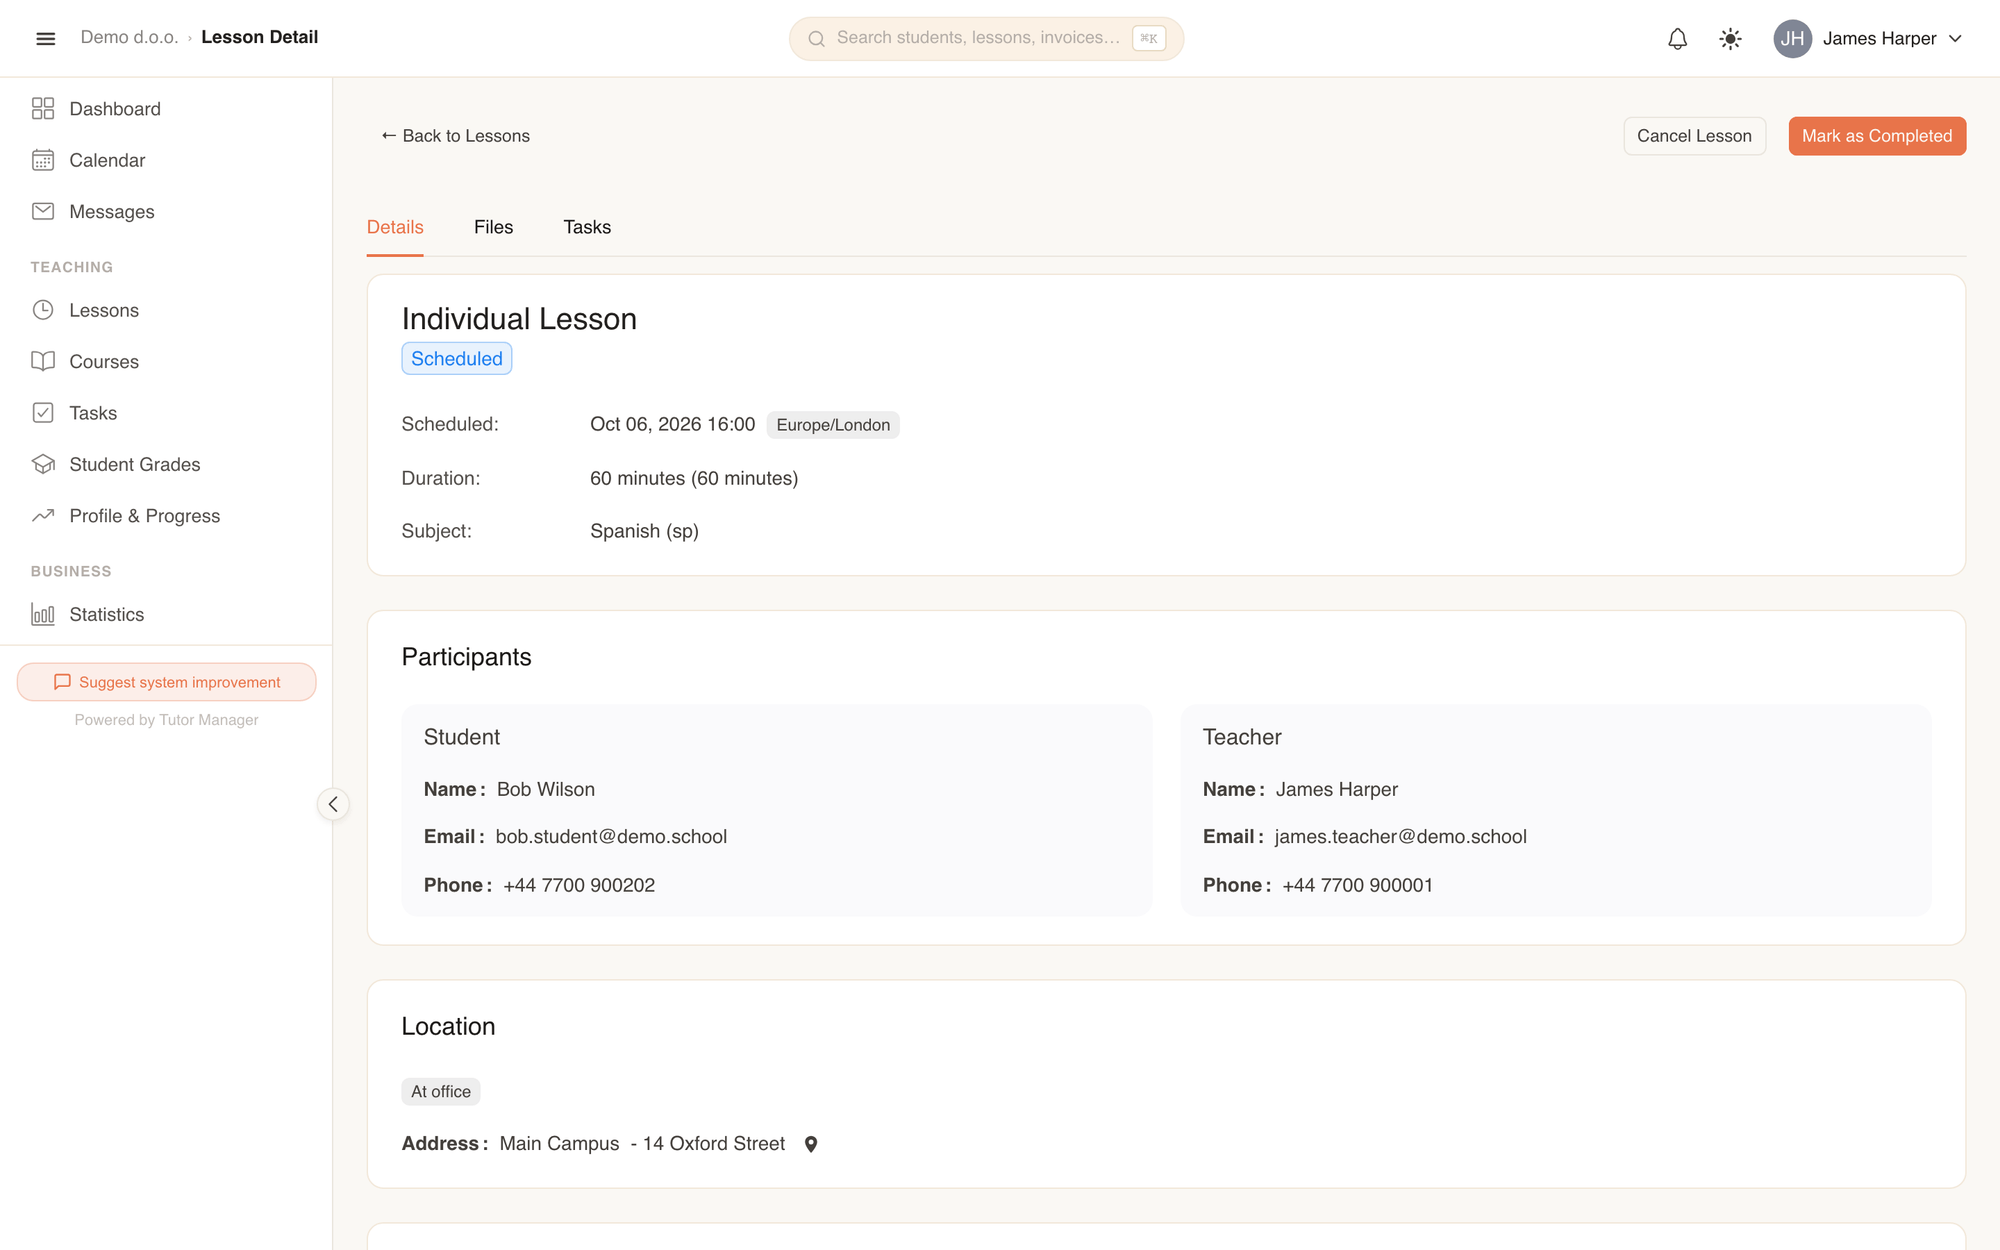
- Open the lesson from the Calendar or Lessons page.
- In the session information card, locate the Zoom: link.
- Click the link to launch Zoom directly in your browser or desktop app.
Student and parent portal
Students and parents see the exact same Zoom link when viewing their lesson details in their personal portal. They can join the session with a single click from their phone, tablet, or computer.
Troubleshooting
- Zoom toggle is disabled in the lesson form: Make sure that Enable Zoom integration is switched on in Settings and that all three credential fields (Account ID, Client ID, Client Secret) are filled in.
- Meeting link not created: Check that your Server-to-Server OAuth app in Zoom Marketplace is active and that the
meeting:write:adminscope has been granted.