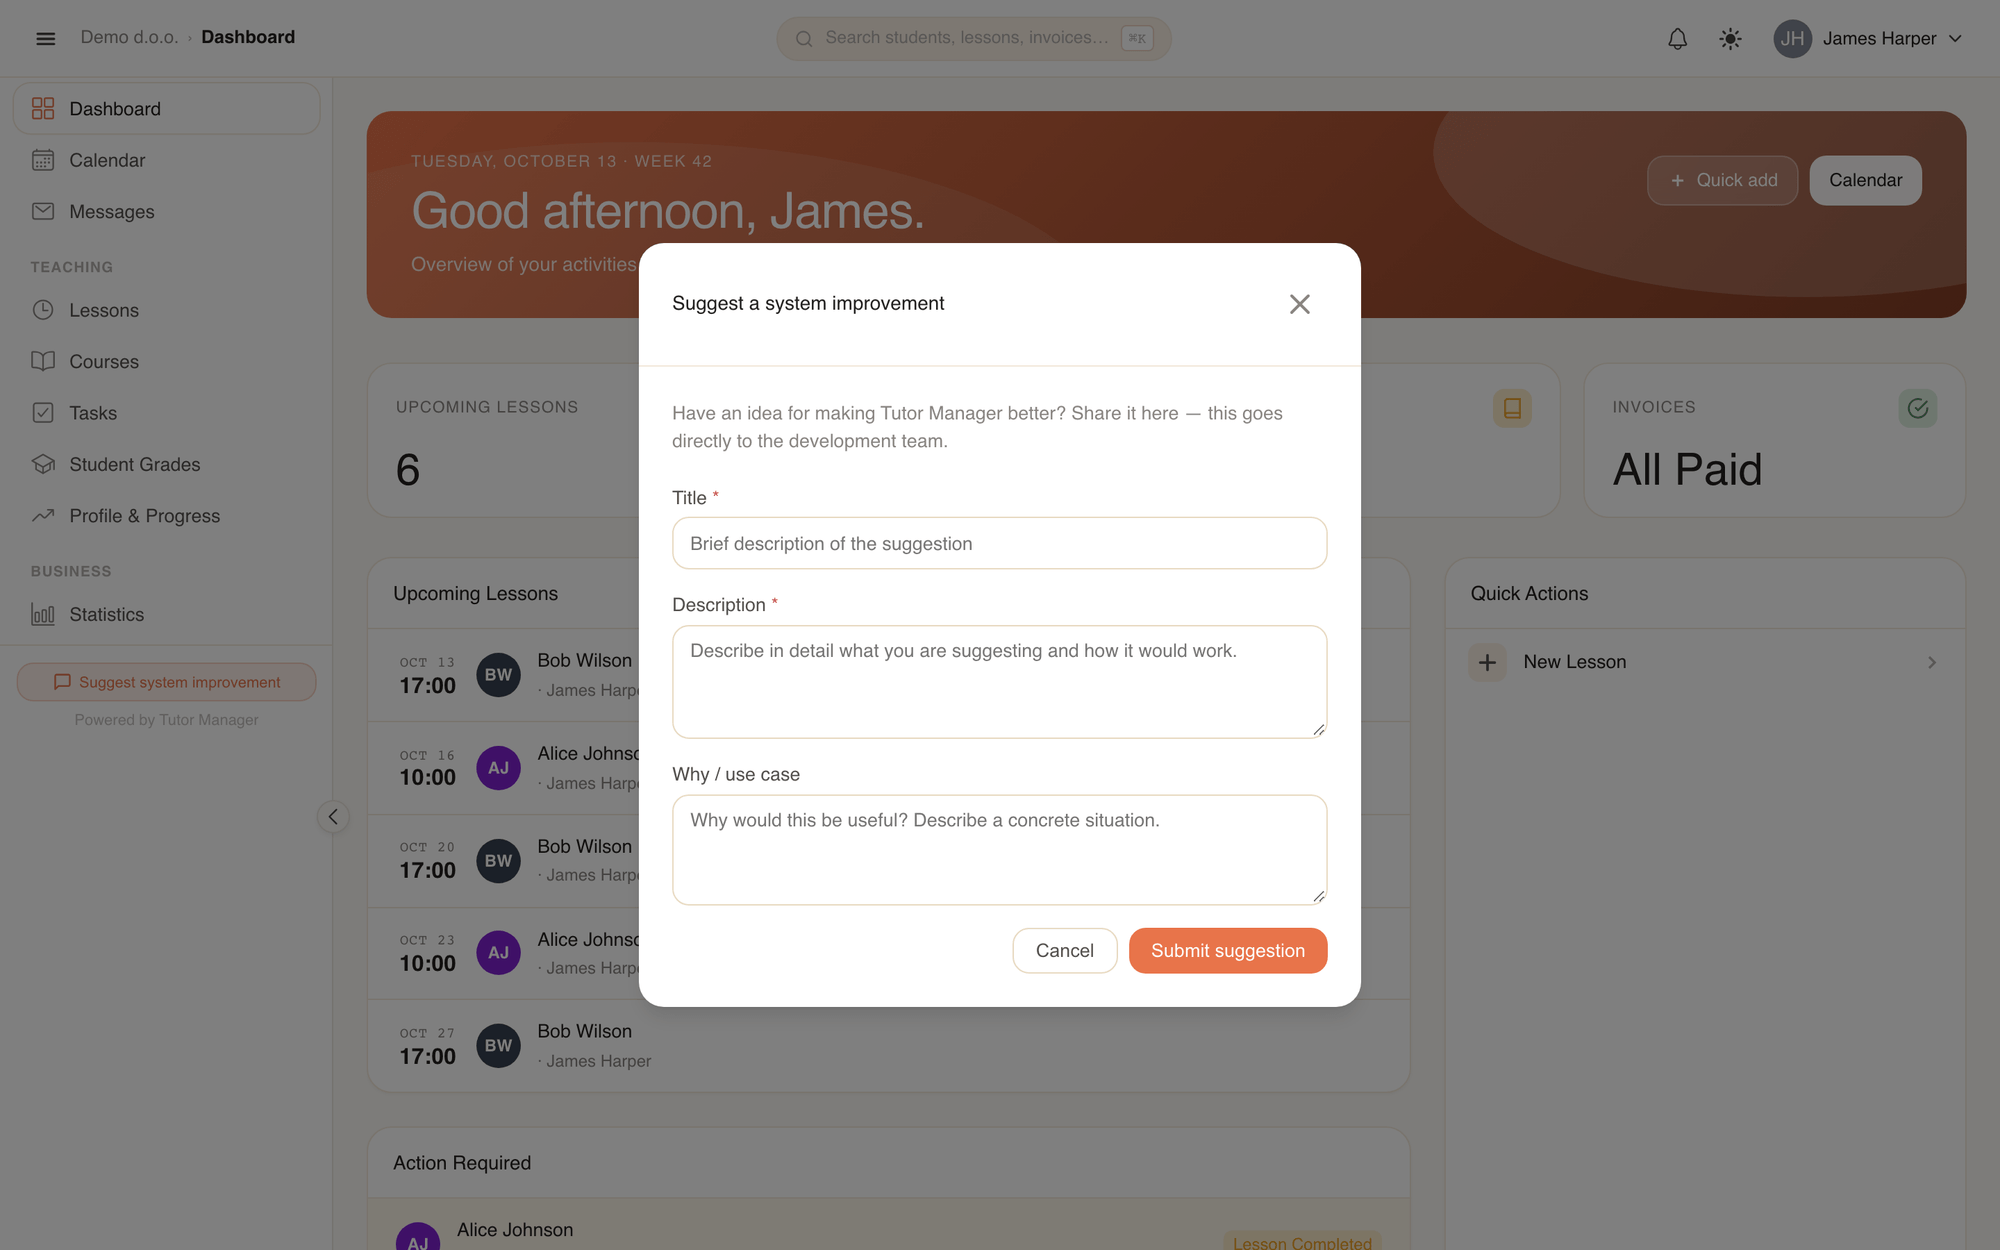
Finding your way around
TutorManager provides a clean, responsive interface designed to keep your most important tasks within easy reach. Whether you are managing the entire school, teaching lessons, or monitoring your child's progress, the navigation adapts dynamically to your role.
The sidebar
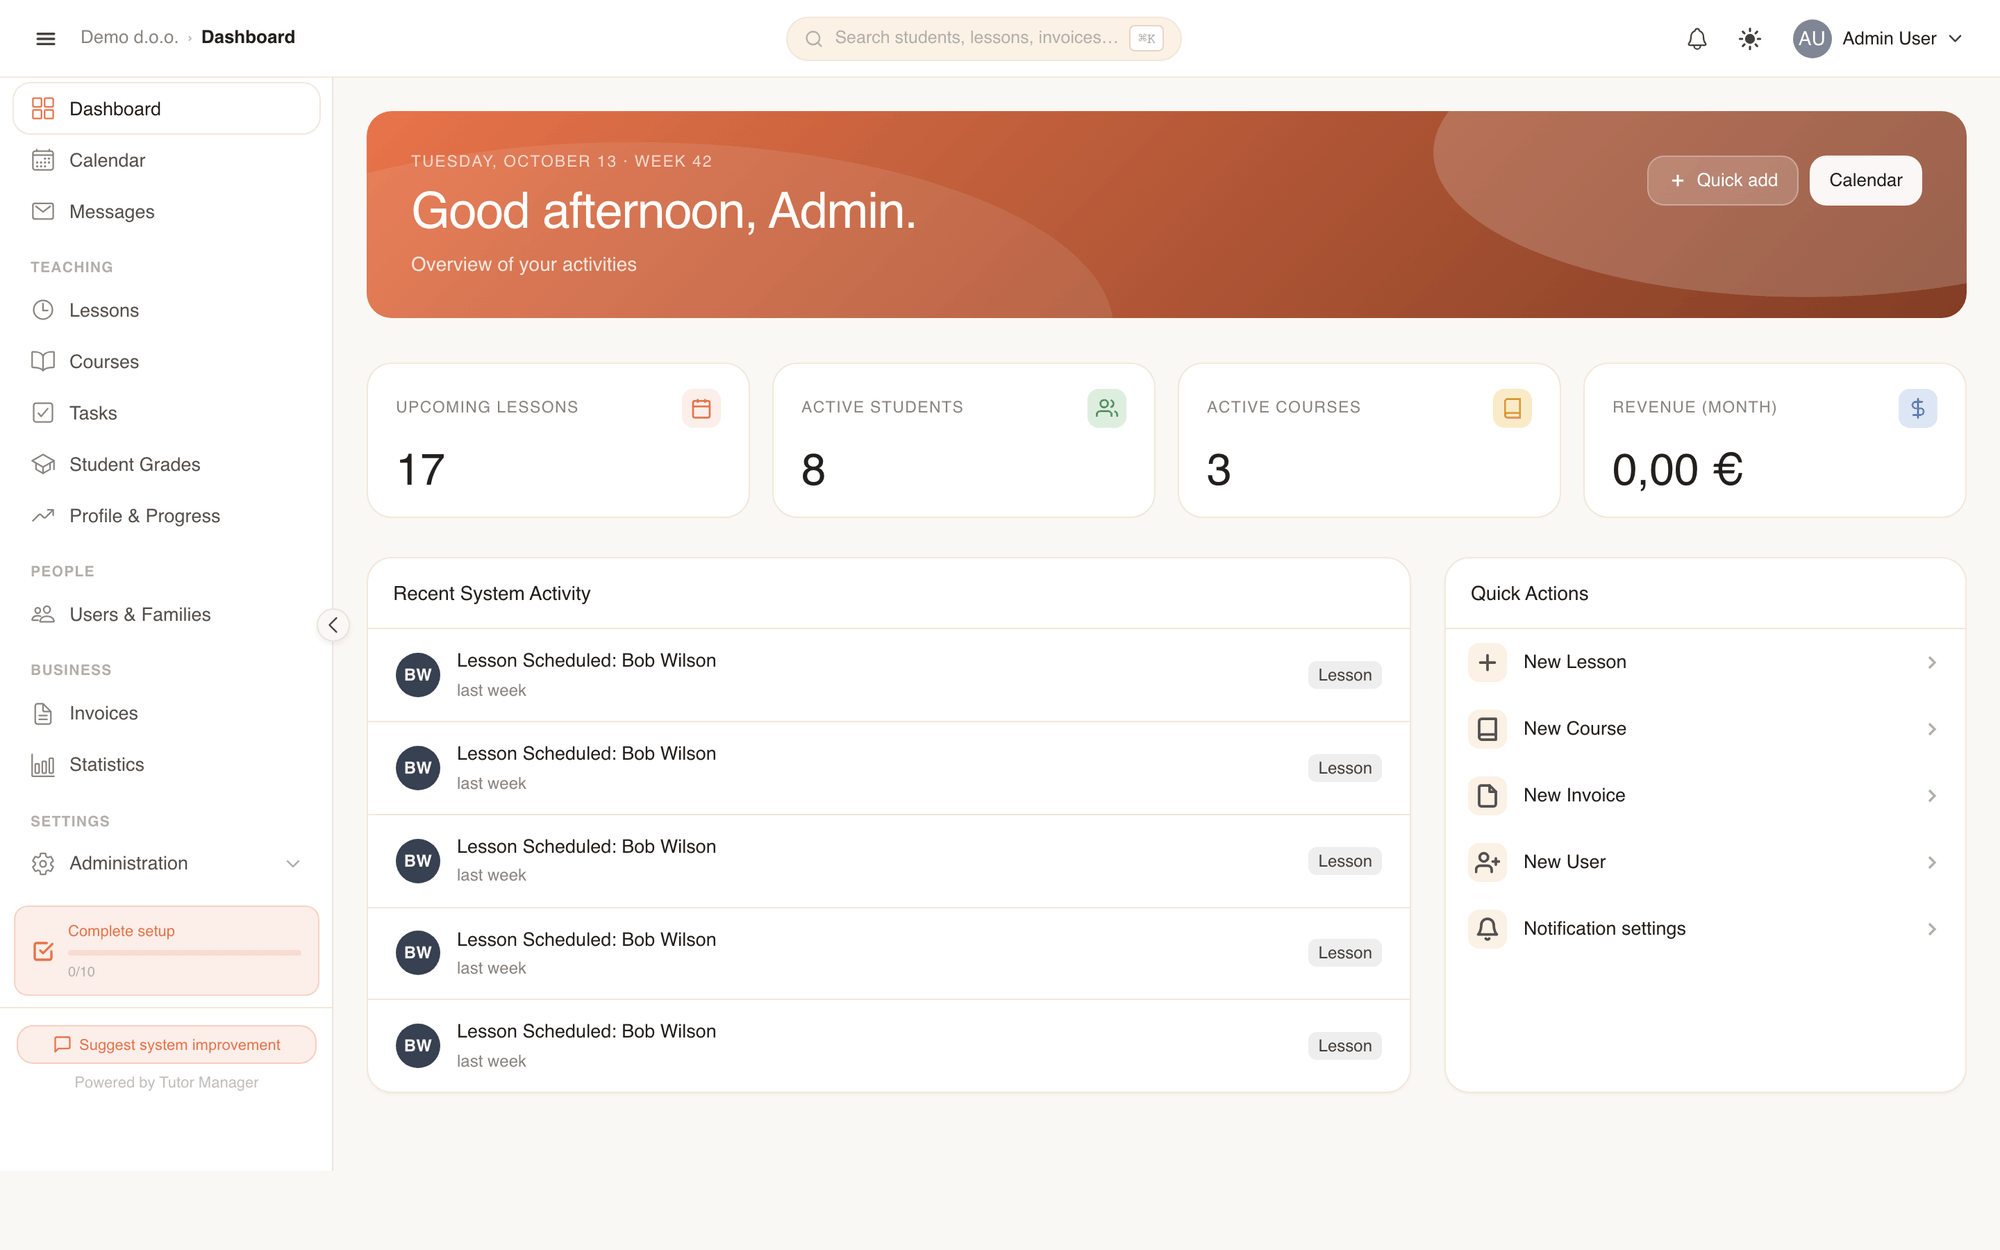
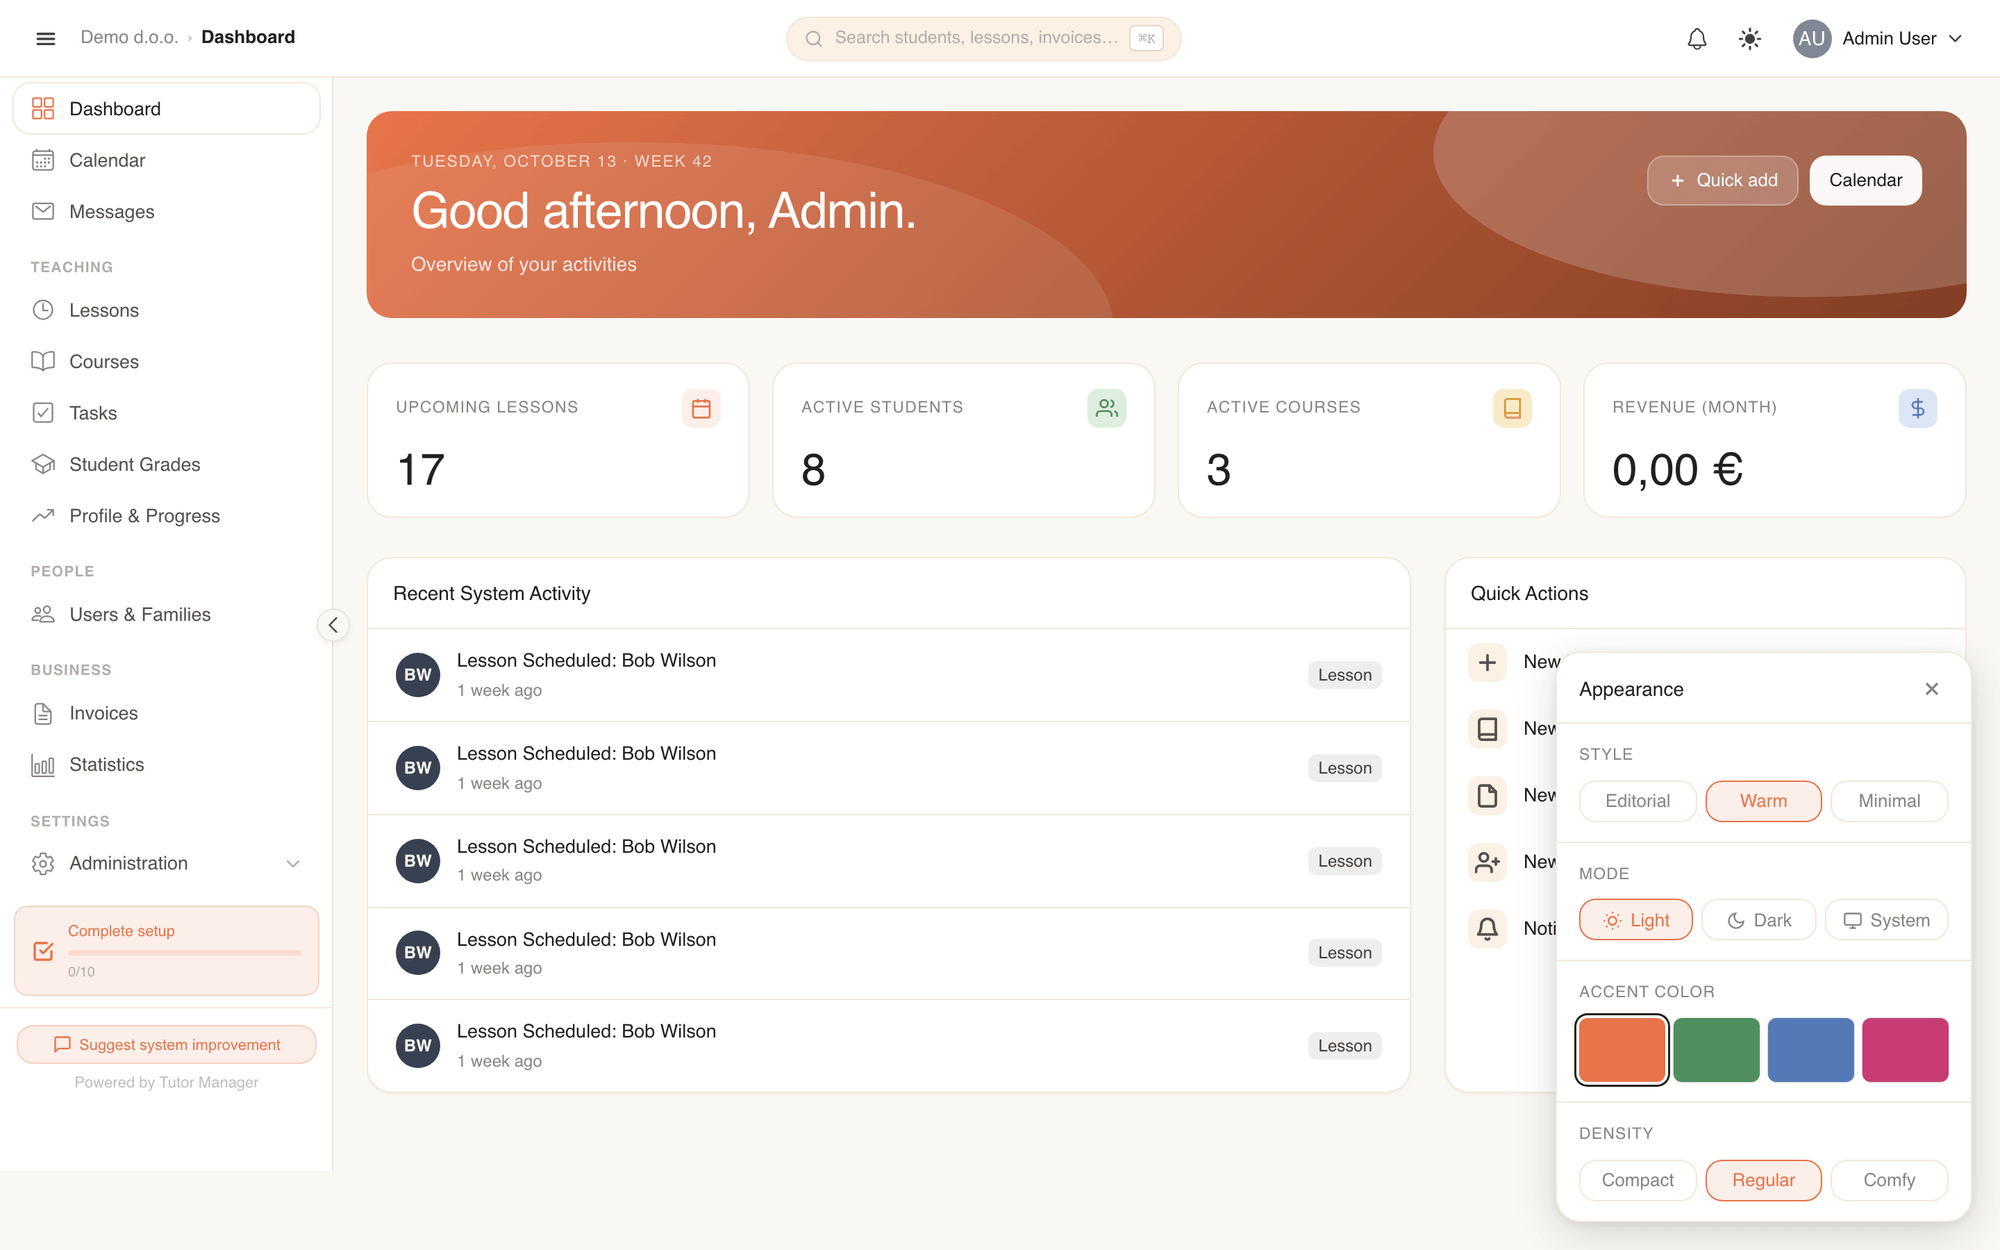
The sidebar on the left gives you one-click access to all features. On desktop, click the collapse arrow at the bottom of the sidebar to collapse it into compact icon mode (64 px) or expand it to full width (240 px). On mobile devices, tap the menu icon in the top header to slide the sidebar open.
Menu items are organized into distinct groups based on your permissions:
Main links (top)
- Dashboard: Your personalized daily home screen with upcoming lessons, alerts, and recent activity.
- Calendar: Interactive daily, weekly, and monthly schedule of lessons and courses.
- Messages: Internal direct messaging between teachers, parents, students, and administration.
Teaching
- Lessons: Manage individual lessons, search free time slots with Quick Add, and configure weekly recurring schedules.
- Courses: Manage group courses, track enrolled student lists, and schedule course meetings.
- Homework / Tasks: Create homework assignments with the interactive builder, use the AI task generator, and grade student submissions. (Students see Homework).
- Student Grades: Enter and monitor test grades and academic evaluations.
- Profile & Progress: Review learning timelines and student development records.
People
- Users & Families: Manage accounts for students, teachers, parents, and receptionists, and organize students into linked family accounts.
Business
- Invoices: Issue, review, and download invoices and proforma invoices, and track payment statuses. (Students and parents access Invoices to view and pay their own bills).
- Statistics: Track teaching hours, completed lessons, student counts, and revenue trends.
Settings
- Locations: Manage physical school locations, addresses, and individual rooms (available to receptionists).
- Administration: Comprehensive control panel for company settings, pricing models, catalog durations, tax rates, holidays, and system audit logs (administrators).
Sidebar footer
- Complete setup: Appears for administrators until all 10 onboarding steps are complete.
- Suggest system improvement: Opens a direct feedback dialog where you can send feature suggestions, workflow ideas, or bug reports to the TutorManager engineering team.
- Powered by Tutor Manager: System attribution notice.
Global search (⌘K / Ctrl+K)
Quickly locate any record without clicking through multiple menus using the global search bar in the top header or by pressing ⌘K (Mac) or Ctrl+K (Windows/Linux).
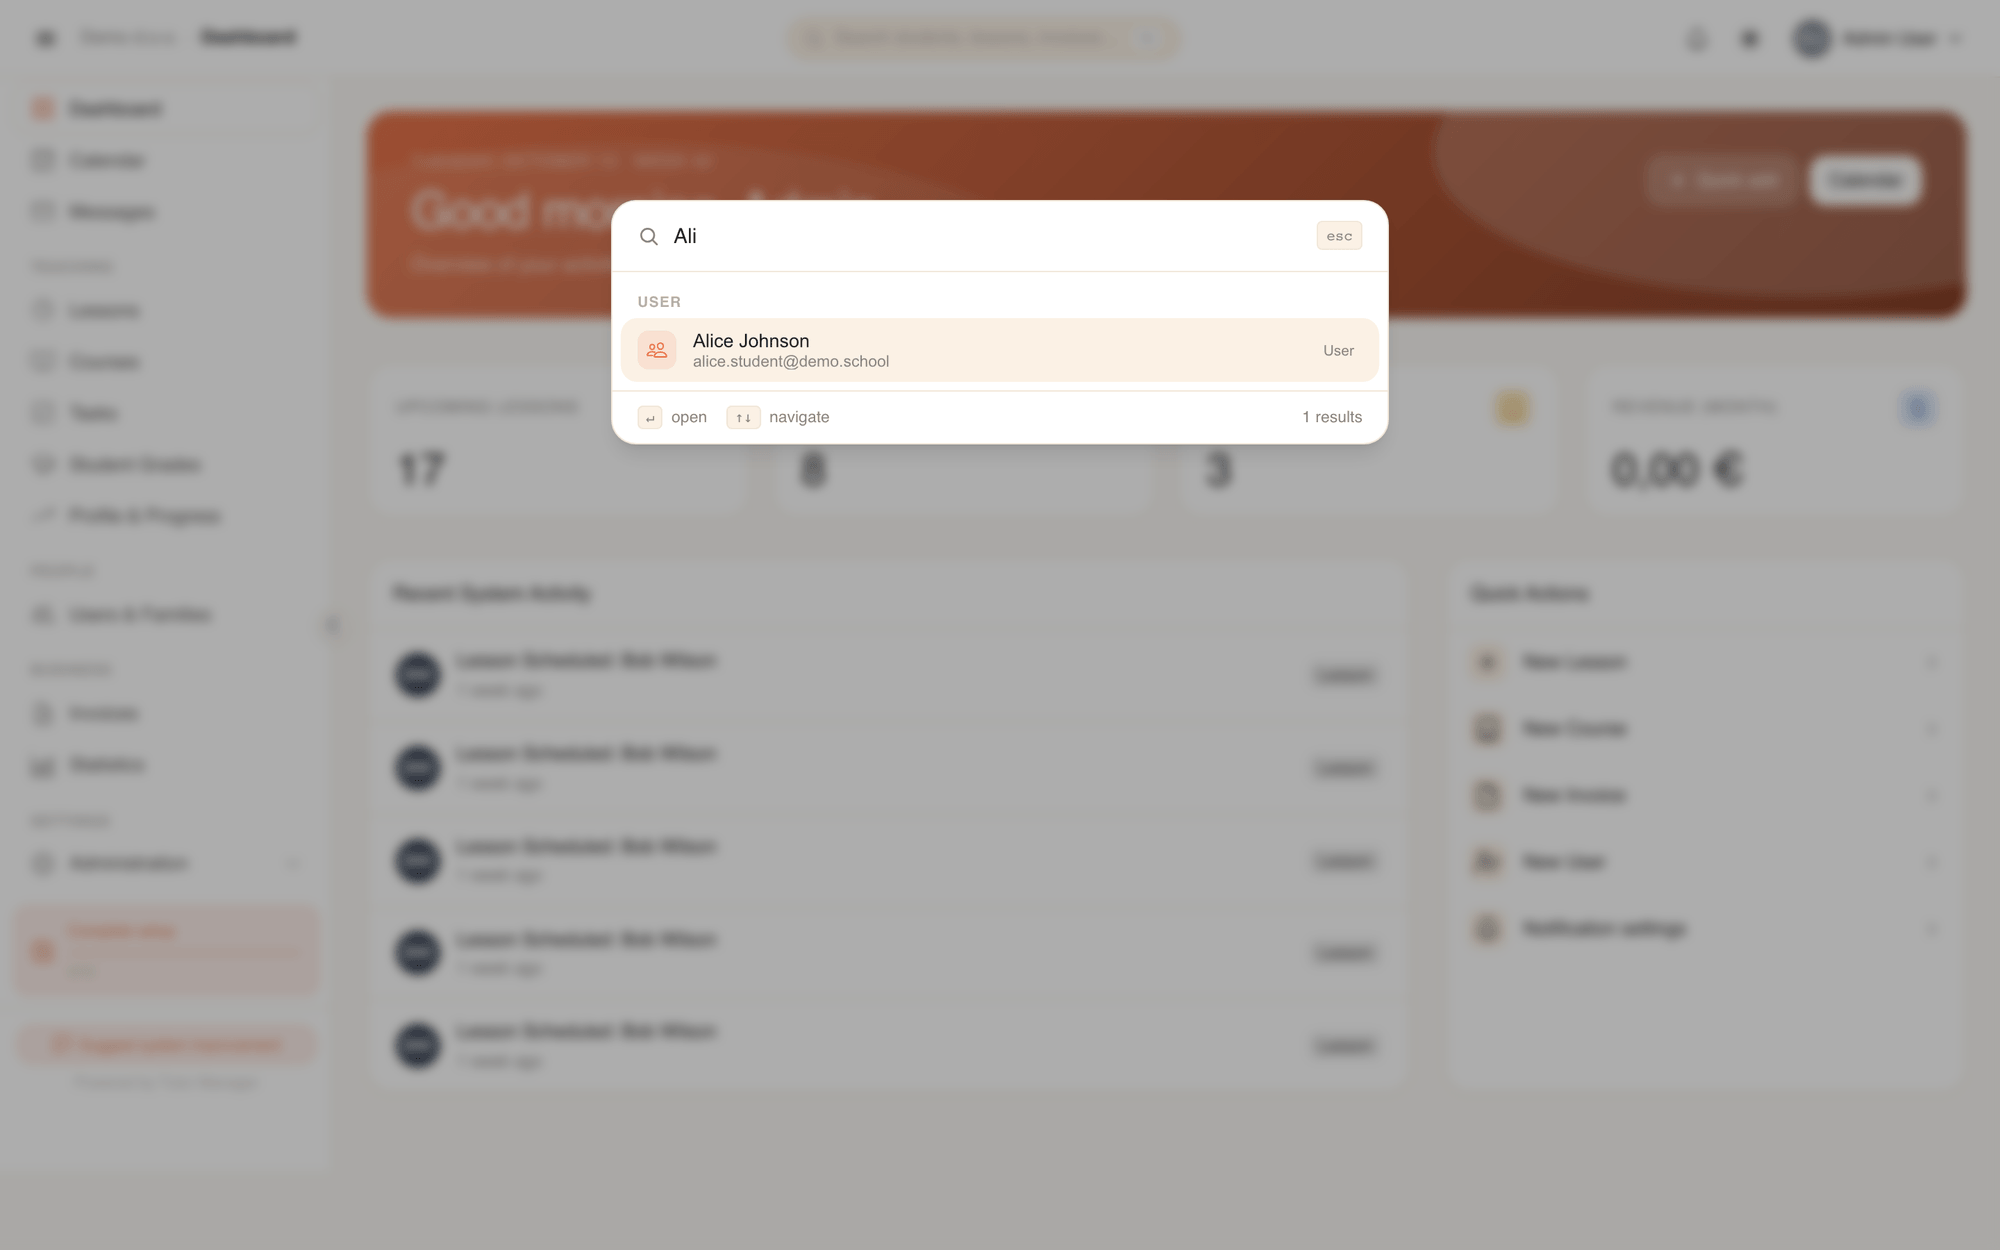
- Press
⌘Kor click the search box in the header. - Start typing a student name, teacher, subject, invoice number, or navigation destination.
- Use the arrow keys
↑and↓to navigate results, then pressEnterto open the item immediately.
Notifications
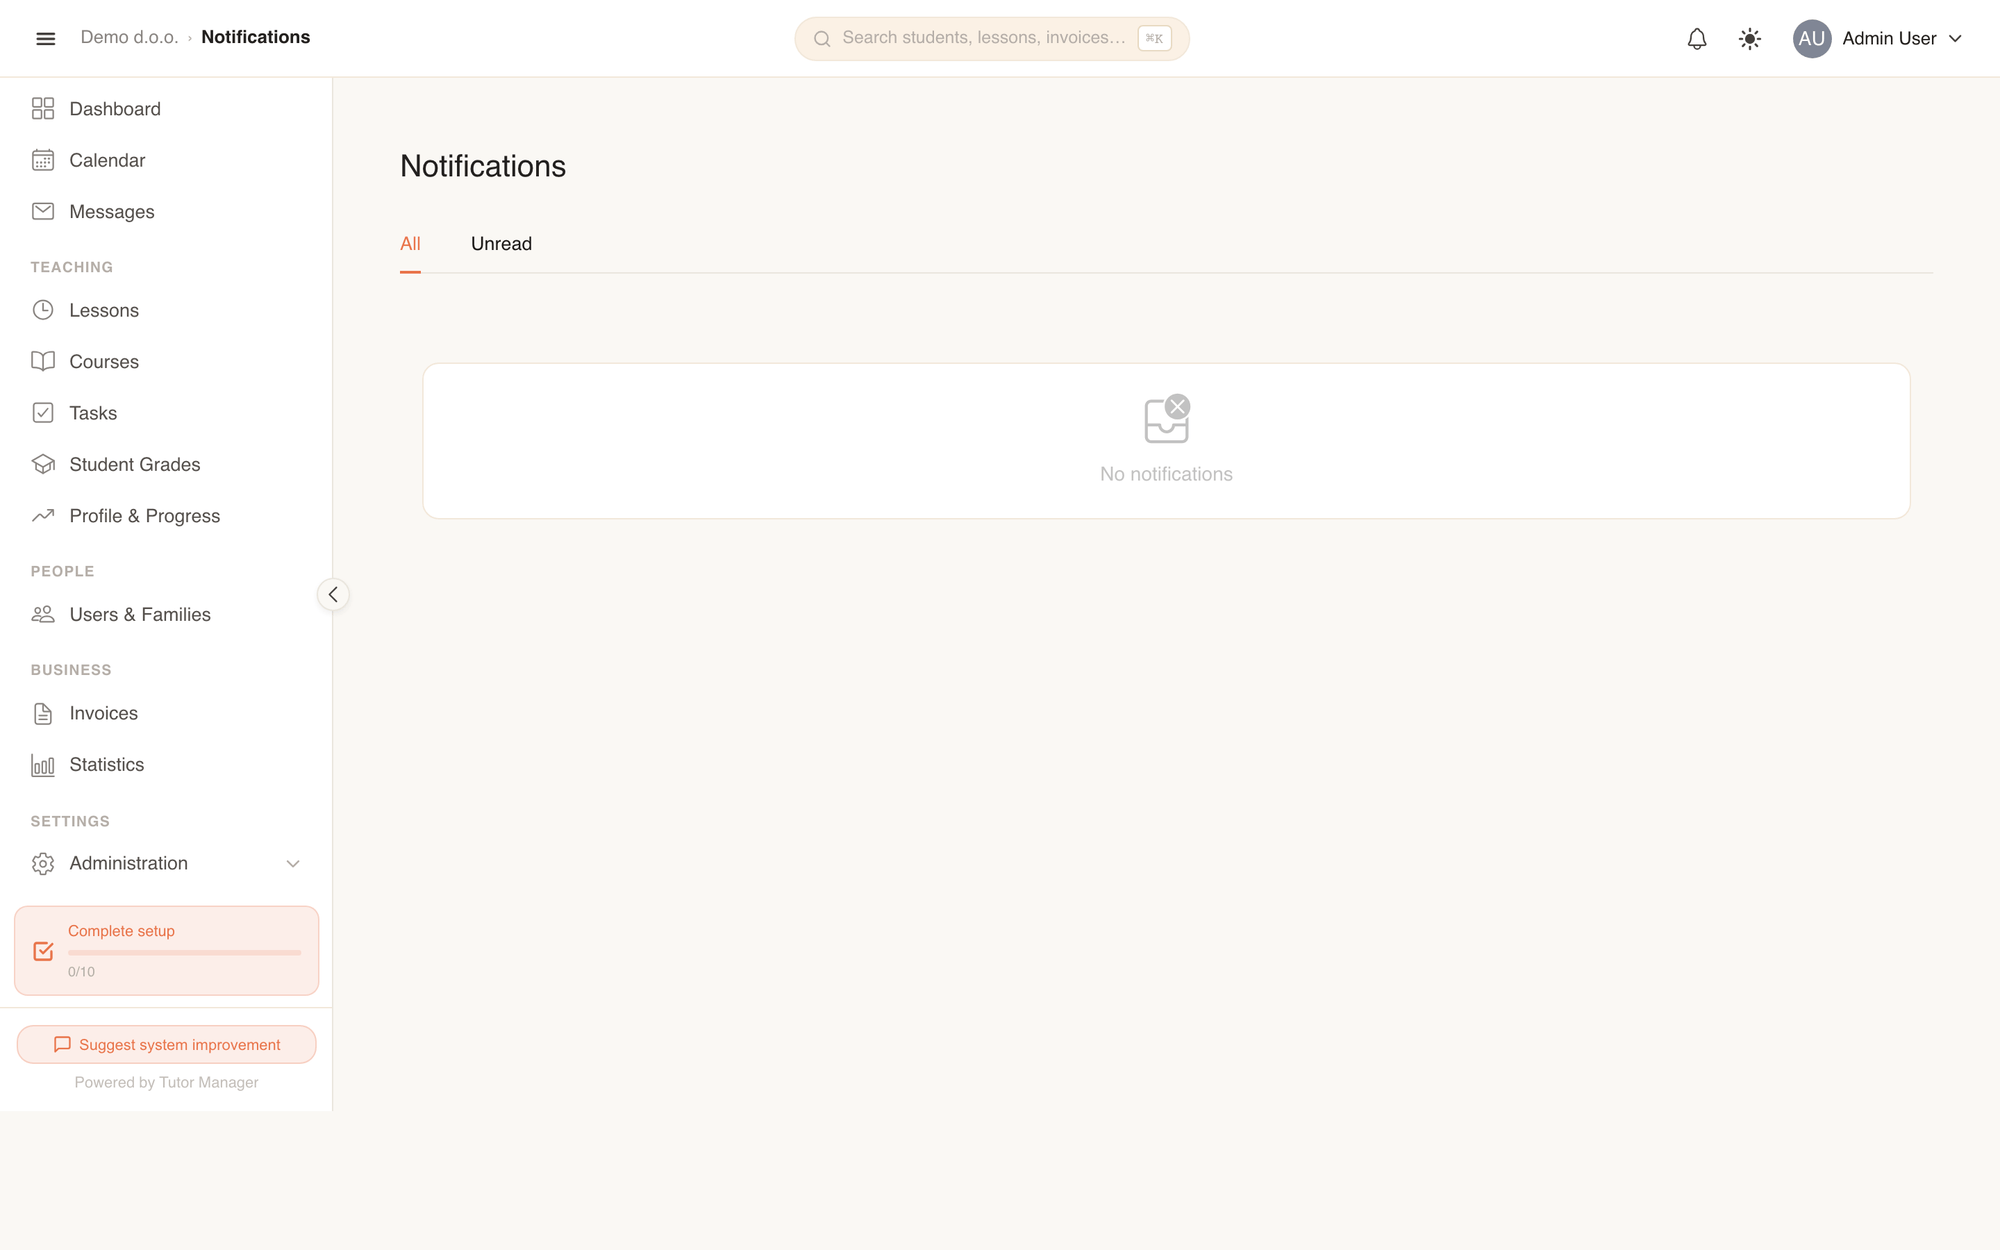
The bell icon in the top header keeps you informed about important changes across your school in real time.
- A red badge shows the number of unread alerts.
- Clicking the bell opens a dropdown showing your most recent notifications (such as new lesson bookings, submitted homework, issued invoices, or messages).
- Click the checkmark icon next to any notification to mark it as read.
- Click any notification to navigate directly to the related lesson, invoice, or message.
- Click View All Notifications at the bottom of the dropdown to open the full Notifications history page.
Theme & appearance
Customize the visual appearance of TutorManager to match your working environment and preferences.
Quick light/dark mode switch
Click the sun / moon icon in the top header to toggle instantly between Light and Dark themes.
Appearance panel
Click your avatar in the top right corner and select Appearance to open detailed personalization controls:
- Mode: Select Light, Dark, or System (matches your operating system settings automatically).
- Accent color: Personalize primary button and highlight colors.
- Density: Choose between Compact (more rows visible on screen), Regular, or Comfy.
- Style: Switch visual styling between Editorial, Warm, and Minimal.
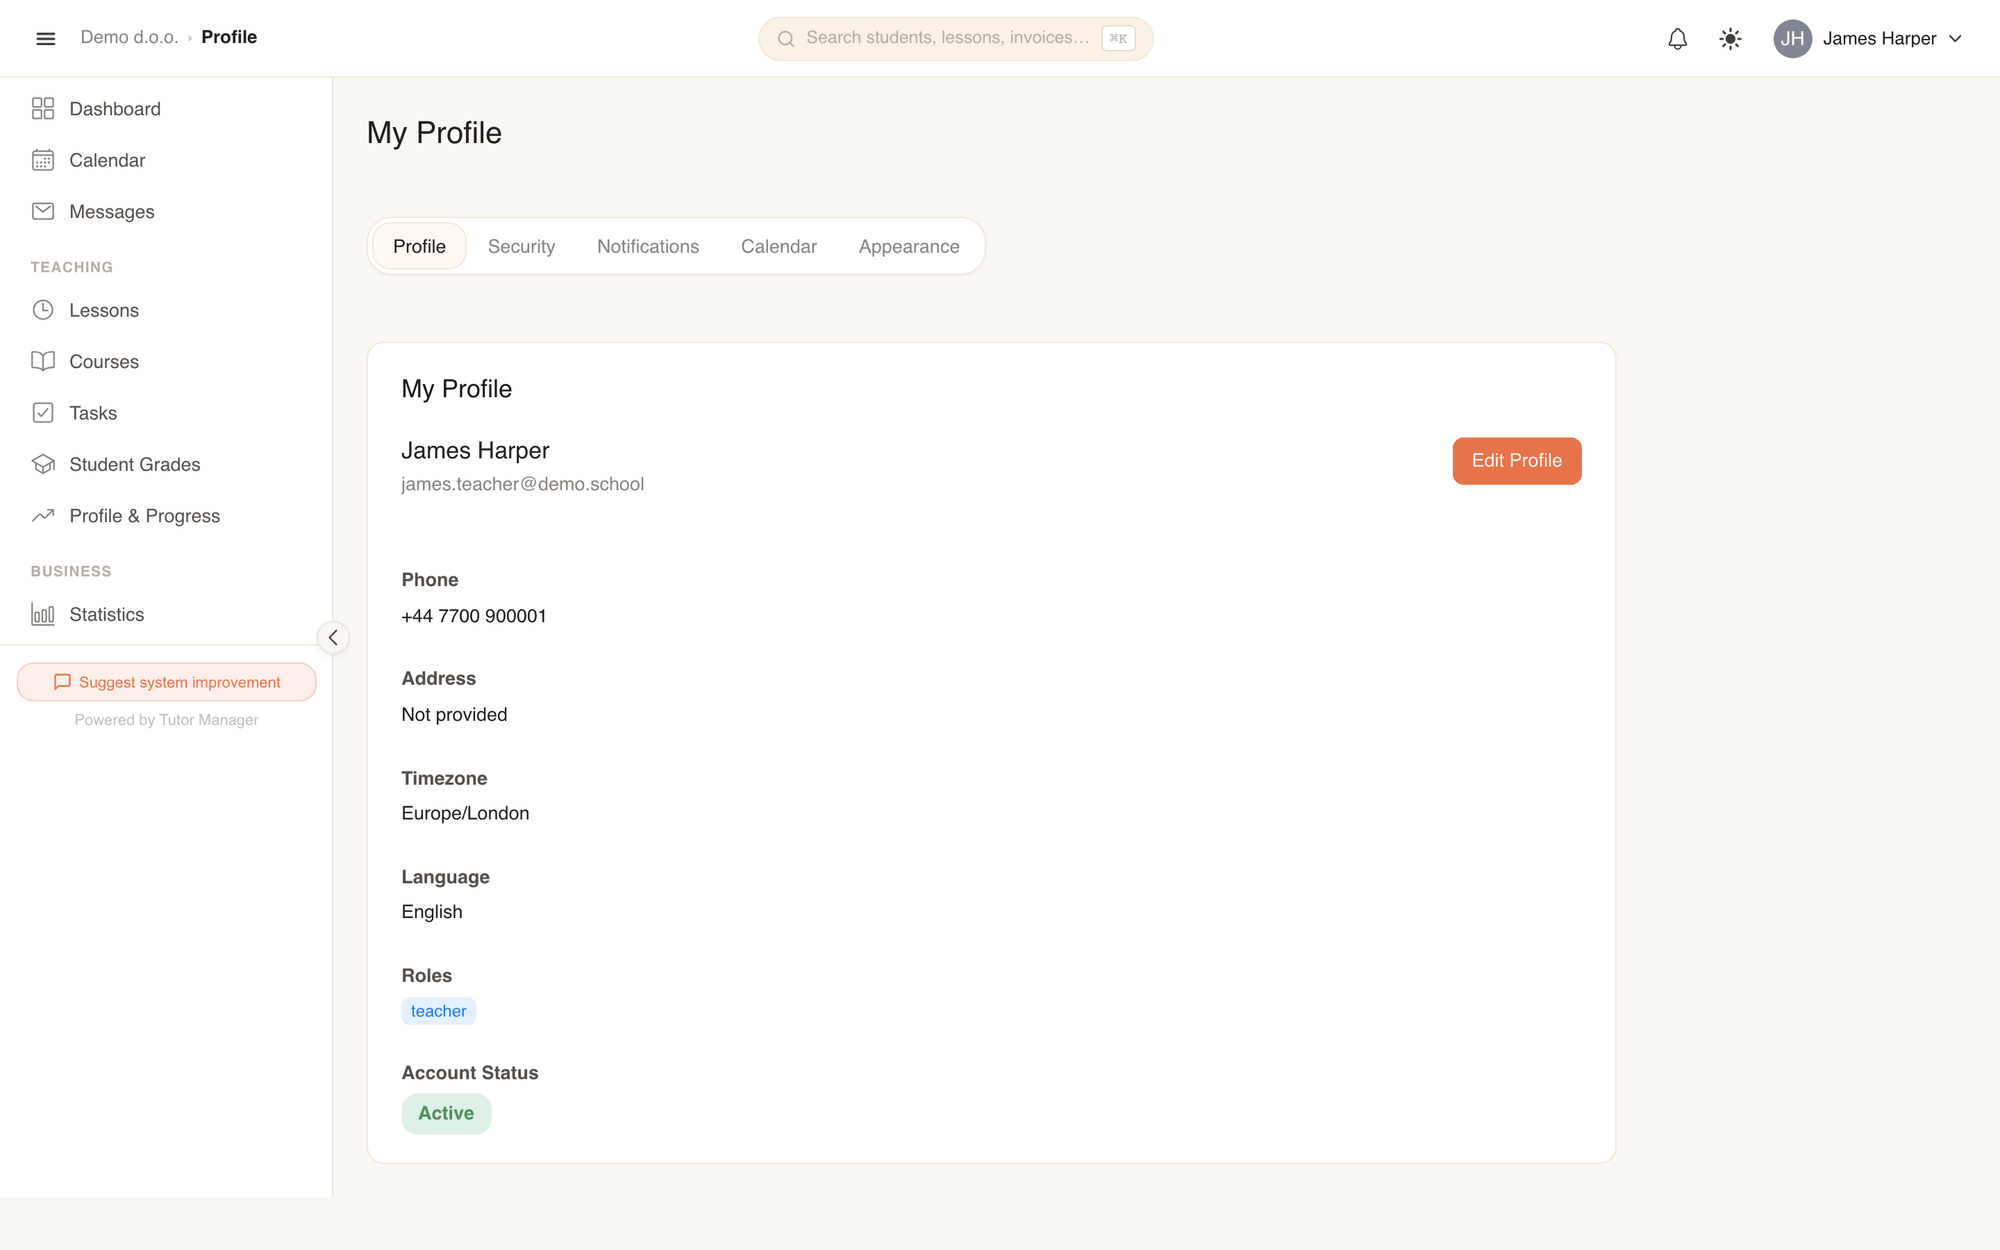
User profile & language settings
Manage your personal contact details, preferred language, and calendar feeds under your profile.
Changing your language
TutorManager supports five languages: Slovenščina, English, Deutsch, Hrvatski, and Italiano.
- Click your avatar in the top right and select Profile.
- Click Edit Profile.
- Under Language, select your preferred language.
- Click Save. The entire interface switches language immediately.
Calendar subscriptions (iCal feed)
Sync your TutorManager schedule directly with Google Calendar, Apple Calendar, or Microsoft Outlook:
- Open the user menu and select Calendar subscriptions.
- Copy your private, secure iCal feed URL and paste it into your external calendar app.
Keep your calendar link private
Your calendar subscription link contains a secure access token. Do not share this URL with anyone outside your organization.
Suggest system improvement
We actively develop TutorManager based on user feedback. If you have an idea for a new feature or notice something that could be improved:
- Click Suggest system improvement at the bottom of the sidebar.
- Enter a short Title describing your suggestion.
- Provide a Description explaining how the feature should work.
- Optionally explain the Why / use case (e.g. how it saves your school time).
- Click Submit suggestion. Your request is delivered directly to our product and engineering team.