
Courses
Courses represent group classes, workshops, or semester programmes where multiple students learn together according to a recurring schedule. In TutorManager, you can manage course curriculums, assign instructors, enroll students, generate batches of lessons while automatically skipping holidays, and take roll call for each session.
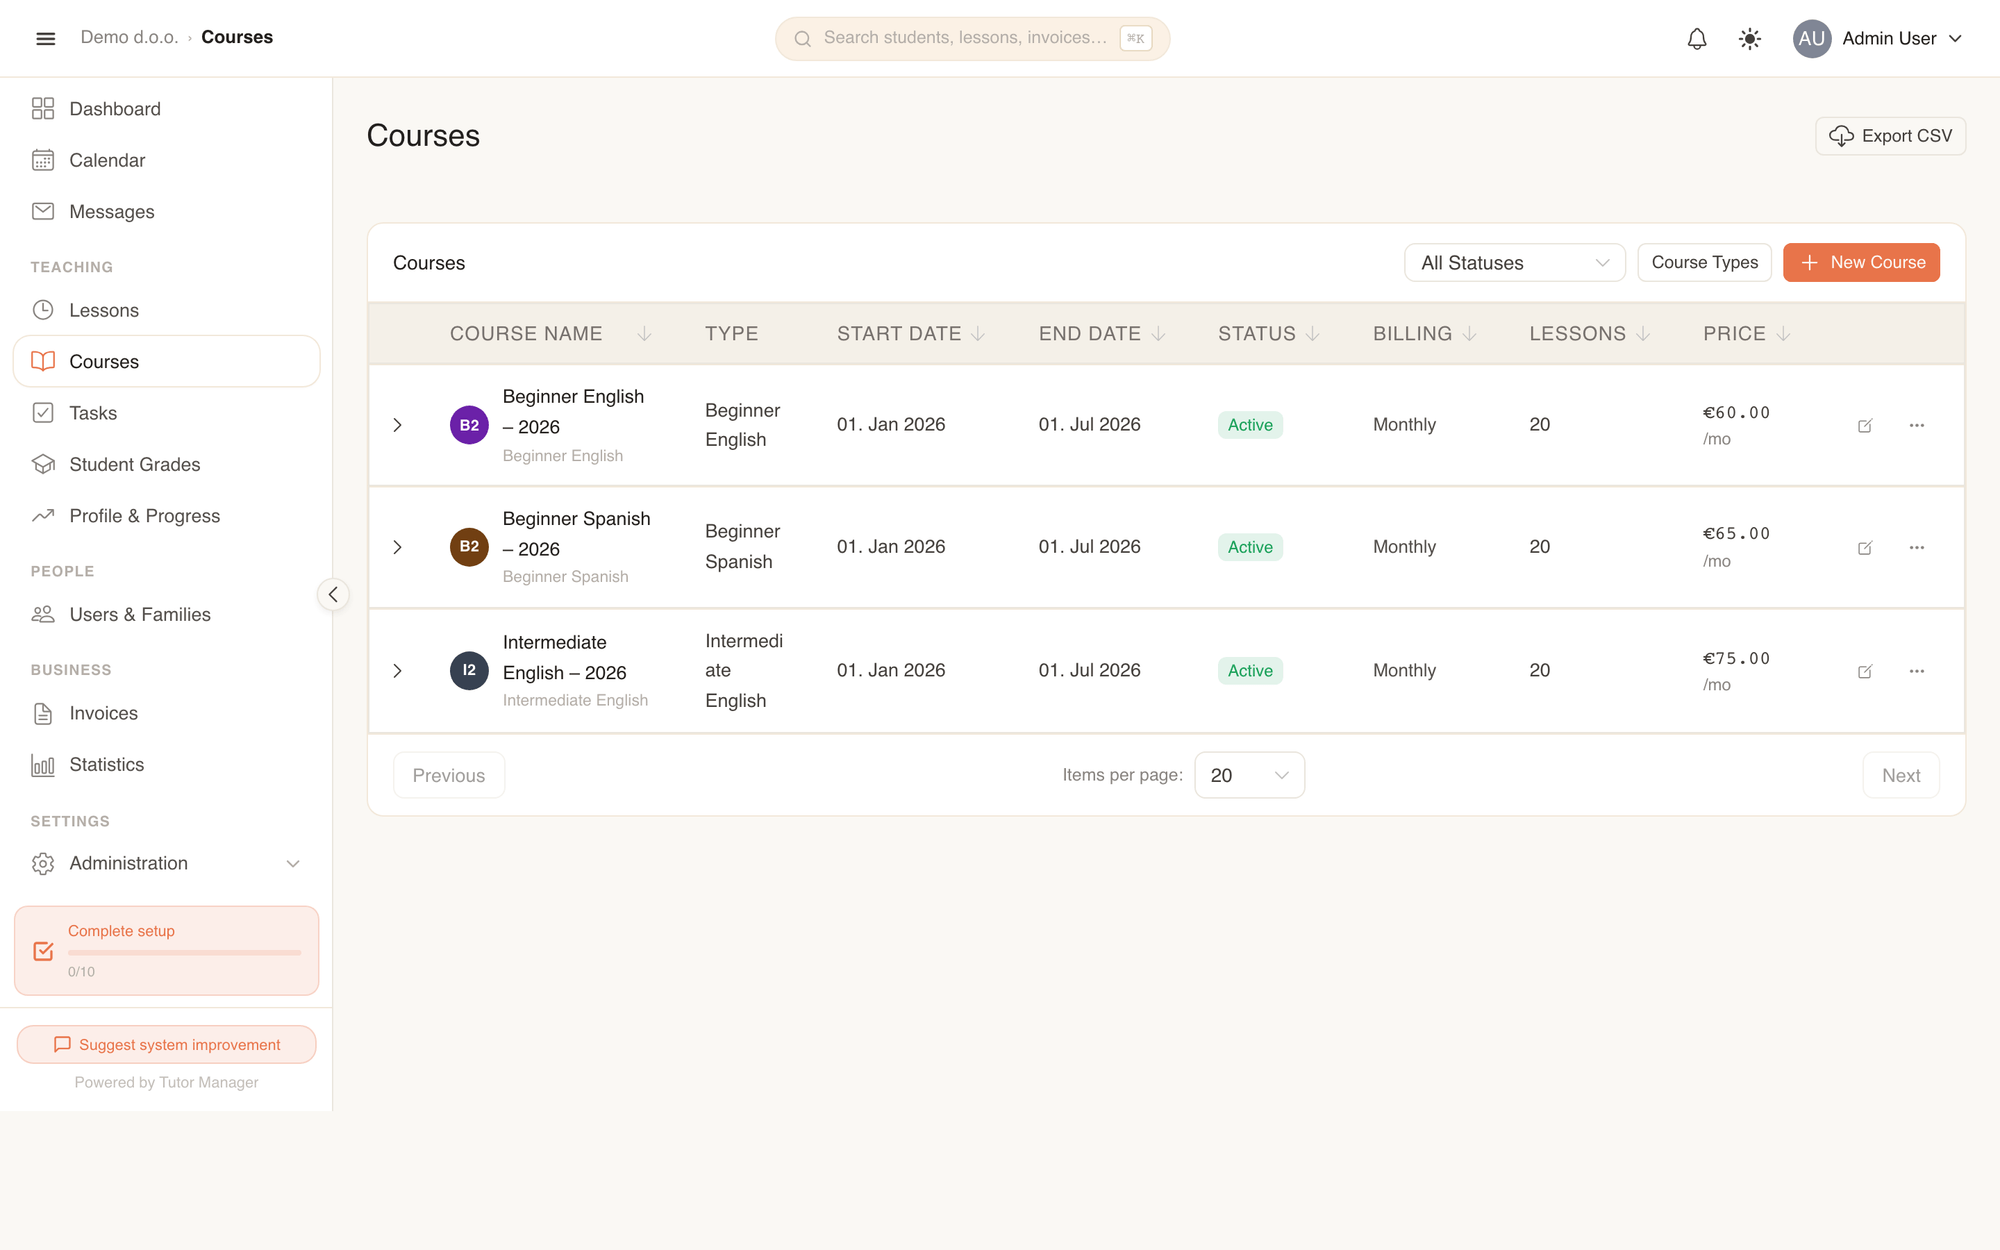
Create a new course
Administrative staff and teachers can create a new course from the courses directory.
- Open Courses in the sidebar and click New Course.
- Under basic information:
- Select the Course Type from your catalog.
- Enter the Course Name and an optional Description.
- Set the Start Date and, if known, the End Date.
- Select the Location and a Room if holding classes on-site.
- Select the Lesson Duration (for example, 60 or 90 minutes).
- Under Billing Info:
- Choose the Billing Type:
- One-time — a single fixed fee for the entire course.
- Monthly — a recurring fee charged each month of active enrollment.
- Per Lesson — charged based on each attended lesson session.
- Enter the Price per Student.
- Enter Total Lessons (Optional) if the course has a fixed syllabus length.
- Choose the Billing Type:
- Pick a distinctive Color using the color swatches. This color identifies the course's sessions on the Calendar.
- In the additional section:
- Add internal Private Notes if desired (visible only to staff).
- Toggle Requires Proforma and enter Proforma Due Days (e.g.,
14) if students must prepay before starting. - Switch on Zoom if the course meets online (see Online lessons).
- Click Create.
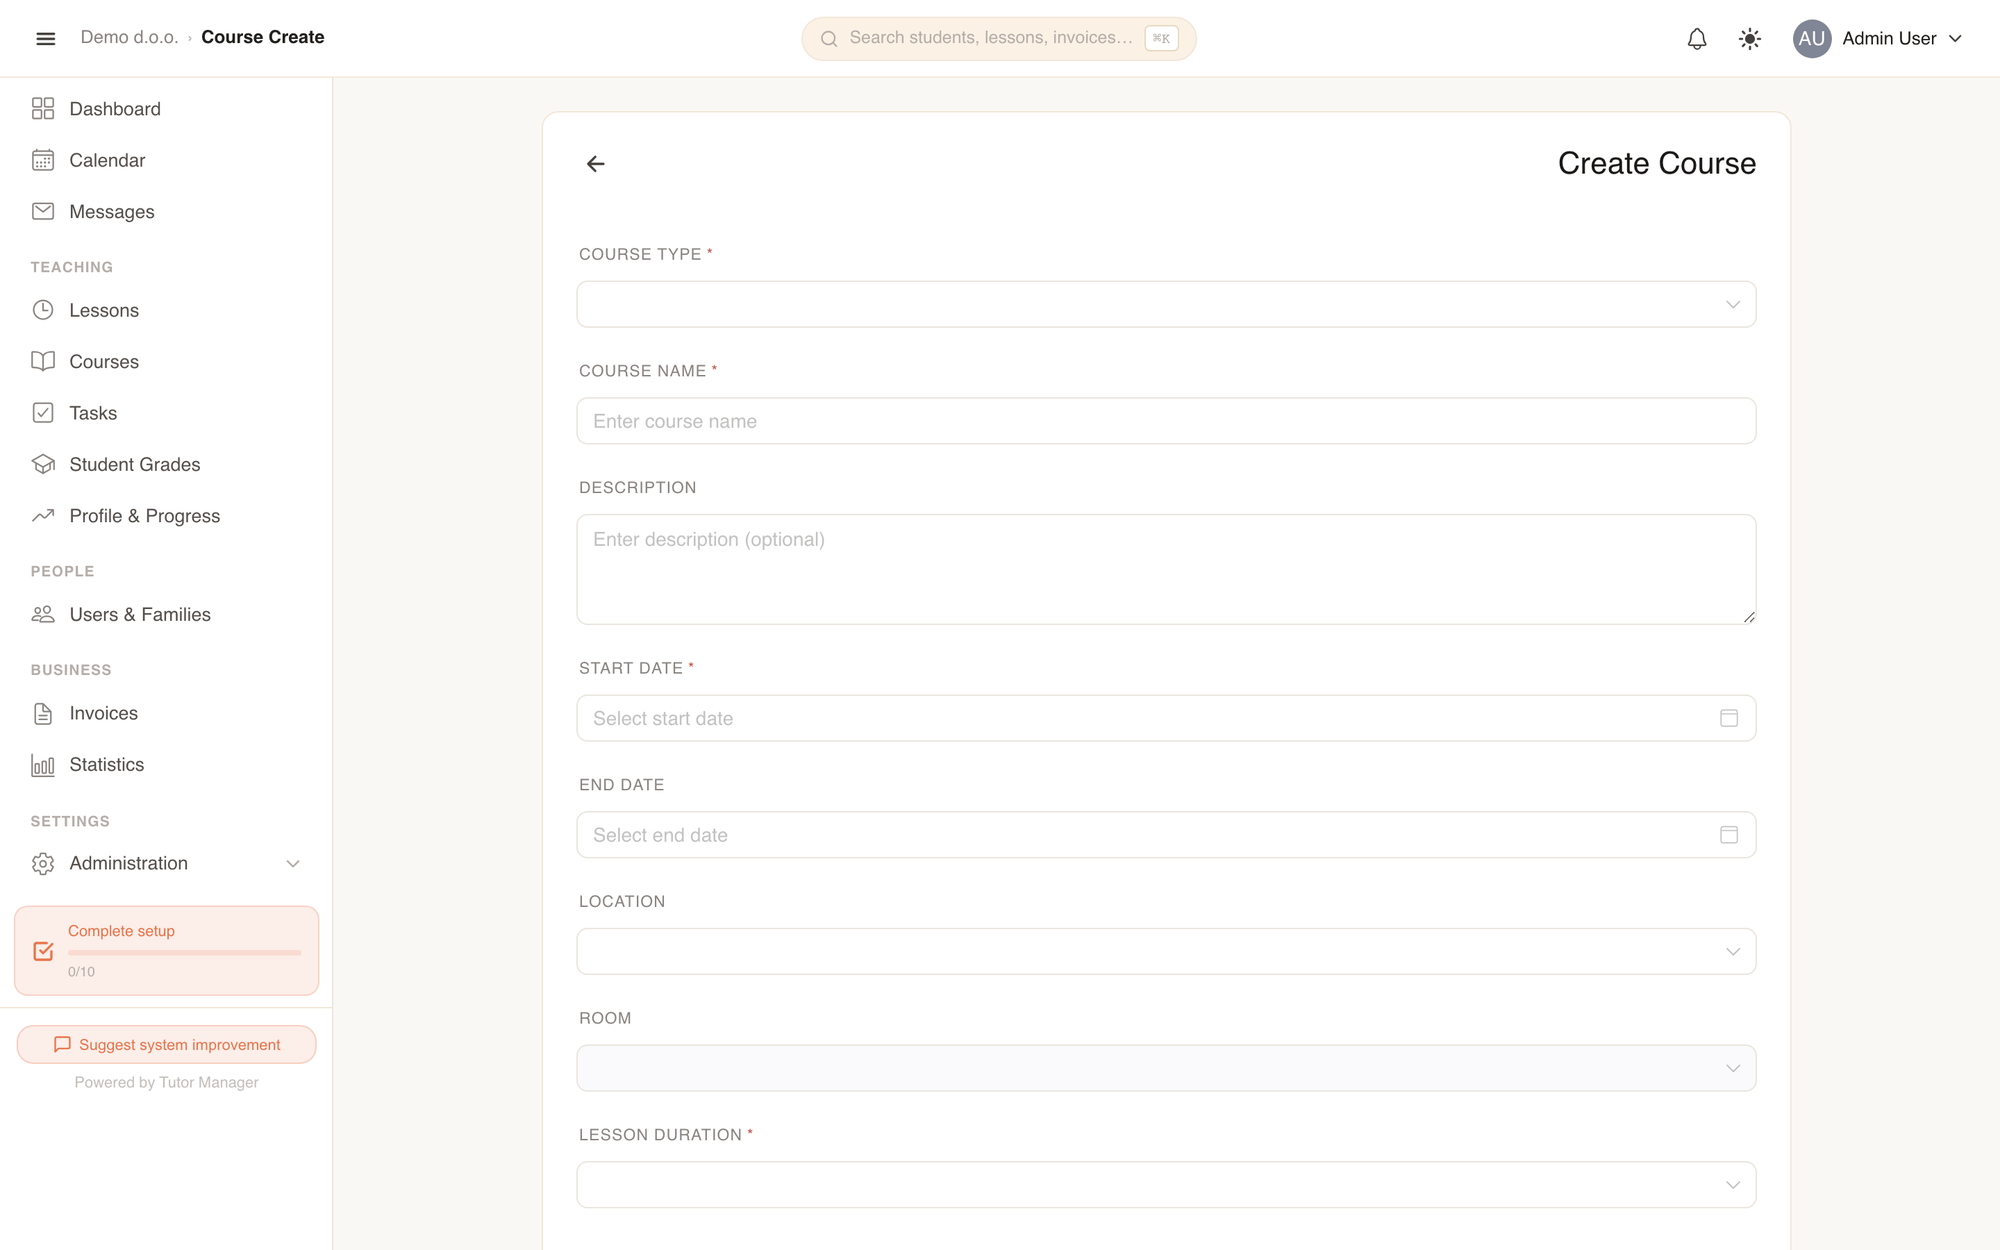
Fields explained
| Field | Description |
|---|---|
| Course Type | The academic program category (e.g. Group Language Course, Exam Prep). |
| Start Date / End Date | The calendar span during which course lessons can take place. |
| Location / Room | The physical school branch and classroom reserved for this class. |
| Billing Type | Determines how student invoices are generated: One-time, Monthly, or Per Lesson. |
| Price per Student | The base tuition fee charged to each enrolled student. |
| Color | The visual accent color used for this course across all calendar views. |
| Requires Proforma | When enabled, enrolling a student flags them for prepayment via a proforma invoice. |
Managing a course
Opening a course from the list displays its full configuration and activity tabs:
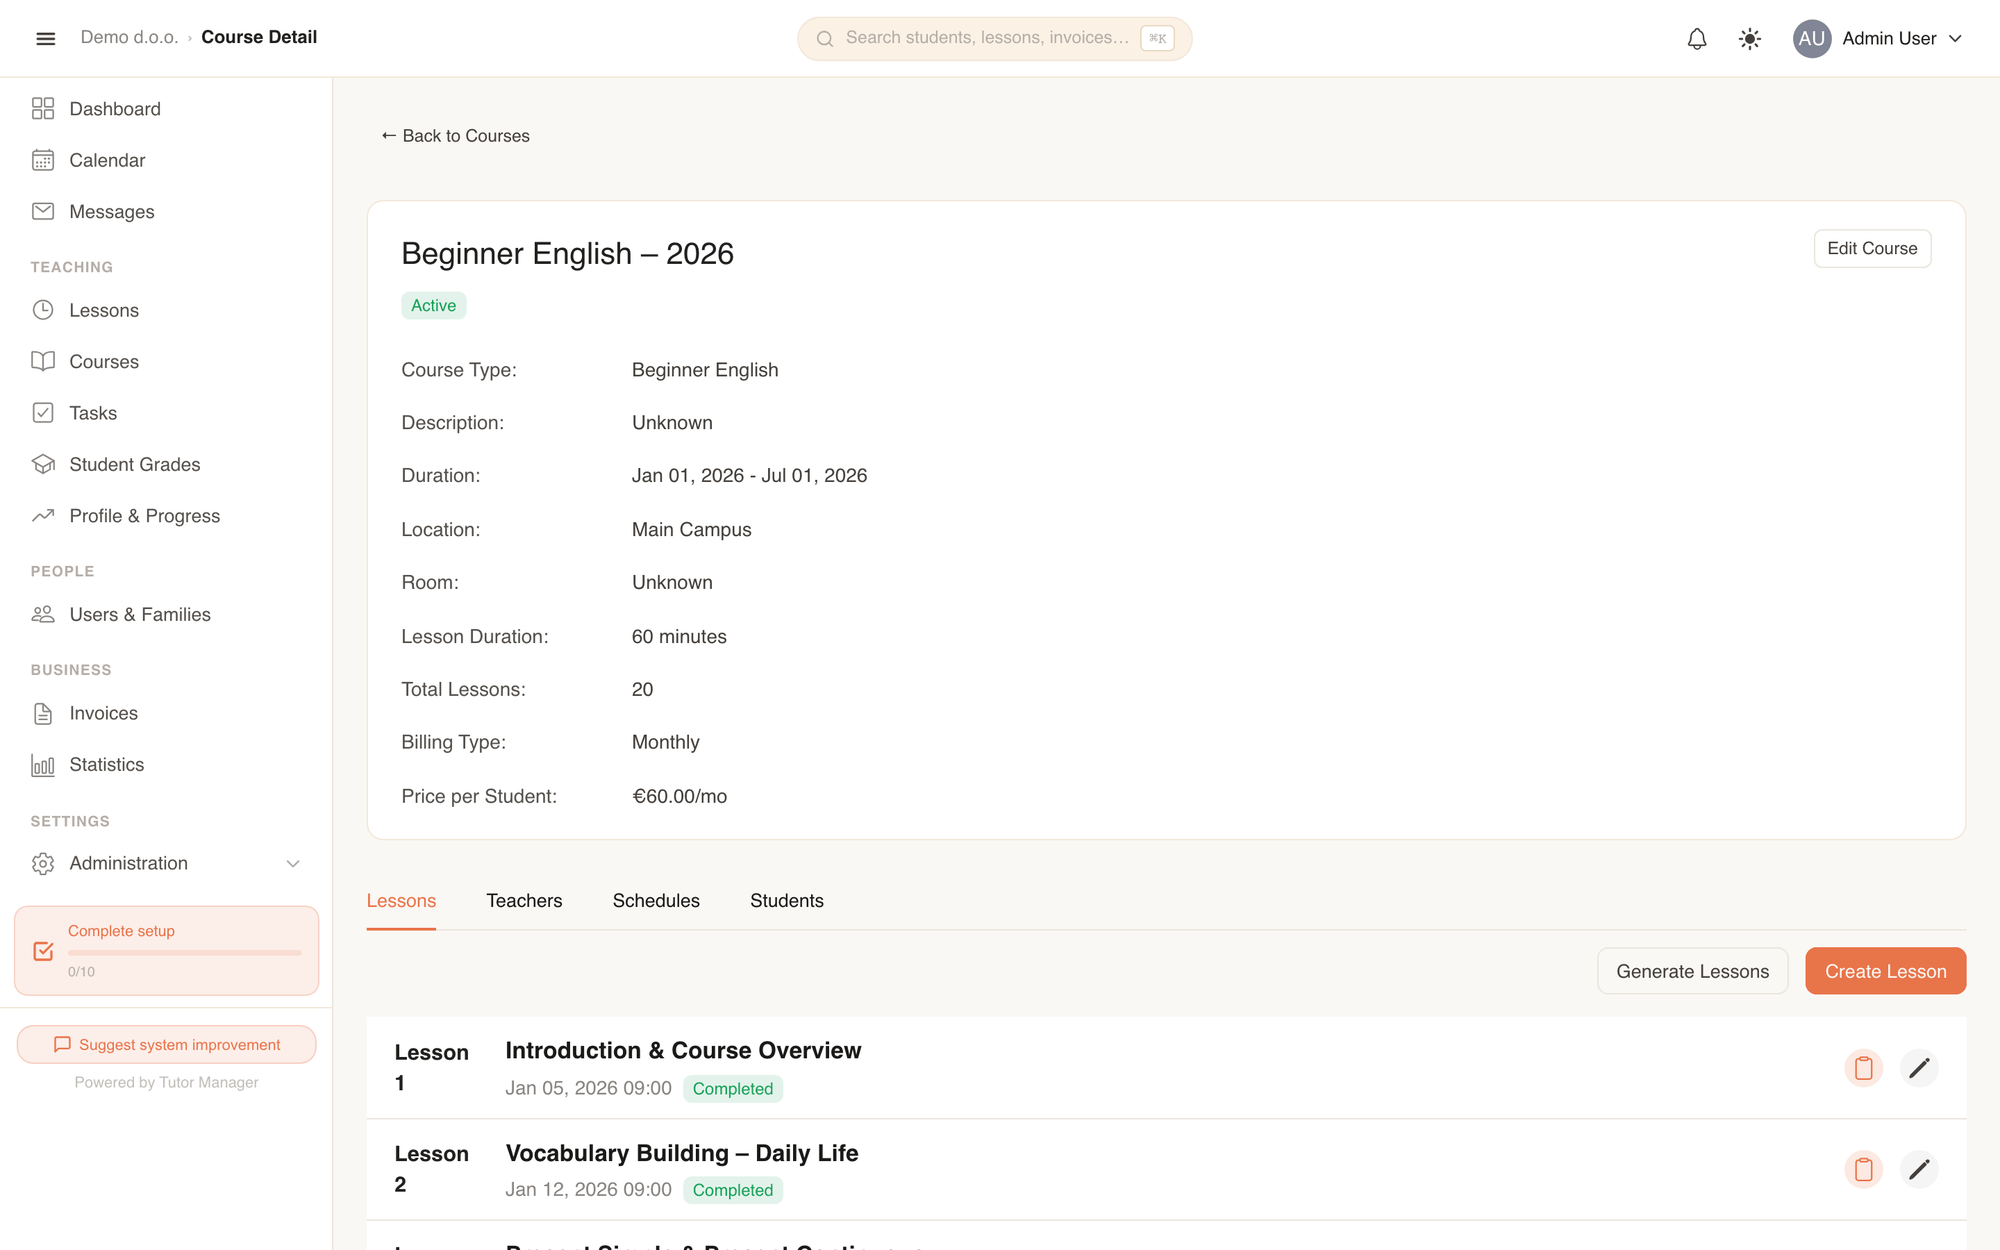
The course detail view is divided into four main tabs:
| Tab | What you manage there |
|---|---|
| Lessons | View scheduled lessons, open session details, and generate lessons in bulk. |
| Teachers | Assign one or more instructors to teach the course. |
| Schedules | Set recurring weekly meeting times (e.g., Tuesdays and Thursdays at 17:00). |
| Students | (Staff only) Enroll students, set individual custom pricing, or unenroll students. |
Set up schedules and generate lessons
Instead of creating every lesson by hand, define recurring weekly schedule slots once and let TutorManager generate the lessons.
1. Add schedule slots
- On the course detail page, open the Schedules tab and click Create Schedule.
- Select the Day of Week (e.g., Tuesday).
- Enter the Start Time and End Time.
- Confirm the Timezone and click Create. Repeat for each weekly meeting day.
2. Generate lessons in bulk
- Open the Lessons tab and click Generate Lessons.
- Select the Date Range (for example, the upcoming school term).
- Switch on Skip holidays and school breaks (recommended).
- Click Generate Lessons.
TutorManager creates all the numbered sessions (Lesson 1, Lesson 2, etc.) and places them on the calendar.
Skipping holidays
When Skip holidays and school breaks is checked, TutorManager consults your school's Holidays calendar and automatically avoids scheduling sessions on national holidays and vacation dates.
Enrolling students
Staff can add students to the course at any time from the Students tab:
- Switch to the Students tab and click Enroll Student.
- Select the Student from the dropdown list.
- If this student receives a special tuition rate, enter a Custom Price (Optional). Otherwise, leave it empty to use the course's default price.
- Click Enroll.
To remove a student from a course, locate their row in the list, click the delete button, and confirm unenrollment.
Lesson details, attendance, and materials
Click on any lesson from the Lessons tab to view its individual session page.
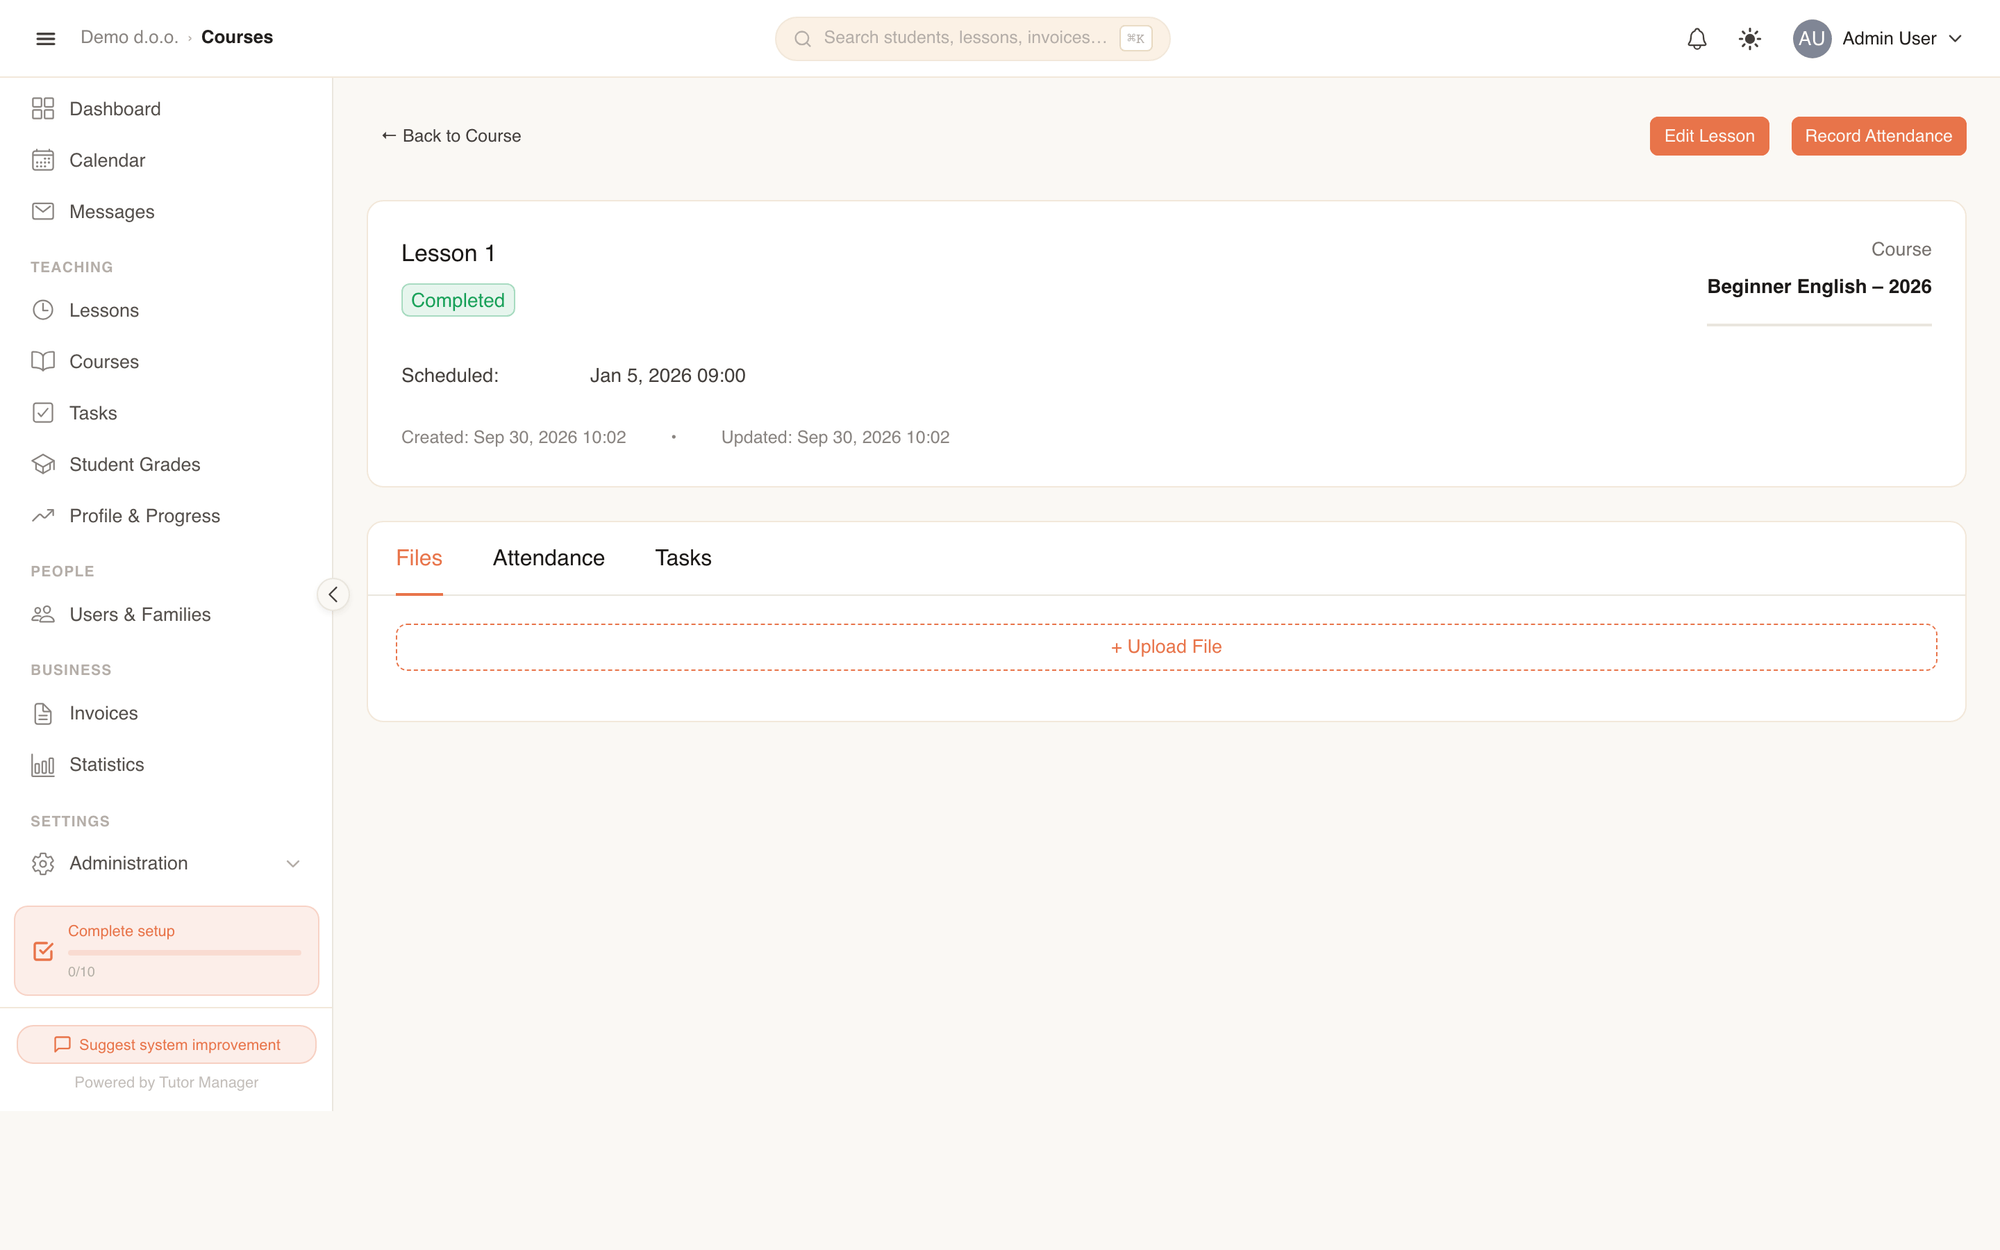
- Record attendance: Click Record Attendance, check off every student who is Present, leave absent students unchecked, optionally type a note, and click Save Attendance.
- Files: Teachers can upload PDFs, worksheets, and audio clips on the Files tab. Enrolled students can download these directly.
- Tasks: Assign homework assignments to all enrolled students via the Tasks tab.
Course statuses
| Status | Meaning |
|---|---|
| Draft | In preparation; lessons are not yet taking place and the course is not open. |
| Active | Currently running; lessons are active and attendance is being recorded. |
| Completed | The course syllabus has concluded. |
| Cancelled | The course was called off before completion. |
What students and parents see
When students or parents log into their portal, privacy is strictly maintained:
- Students see the course name, teachers, meeting times, room location, lesson files, and assigned homework tasks.
- Students and parents see only their own attendance records.
- For privacy reasons, the Students enrollment list is hidden from students and parents. They cannot see other families or students enrolled in the course.